工作中有时候需要调试一下的,用 gdb 有时候效率不高,所以也会用一用 vscode 进行调试。大多数时候用日志看一看也就解决问题了,但有些情况下,还是得调试的,否则就要临时加好多 log。
这里只简单记录一下 vscode 远程调试 linux 上的 c++ 程序,具体操作参考这个文档:Debug code with Visual Studio Code,里面写得很详细了。
三个步骤
步骤1:确保宿主机安装了 gdb
我目前是这个版本: GNU gdb (Ubuntu 12.1-0ubuntu1~22.04.2) 12.1 。
步骤2:vscode 安装这个插件:c/c++
名字就叫 c/c++ ,搜索 c++ 就会出来的,制作方是 ms-vscode。
这里面有个坑点,我工作用的环境是 centos-7.9,而这个插件的最新版本没法在这个环境上正常工作。我退回到 1.22.11 版本才正常工作(跪谢同事帮我指出问题所在)。
要安装特定版本的插件,可以点一下插件的“配置”按钮(就是齿轮标记的那个),然后 install specific version 即可。
步骤3:vscode 创建 launch.json 文件
这个文件就是配置文件,可以配置很多种调试组合:即动作+程序+参数,典型的动作就是 attach(附加) 和 launch(调试运行),程序就是你的程序,还可以预先配置程序的运行参数,等等。
下面是我自己的两个简单例子,一个是 launch,一个是 attach,参数看着多而复杂,实际上不用管太多,需要改的无非就是:程序路径、参数,以及像是否开始调试时停在 main 函数的入口这种简单的控制,具体参数参考这个文档: Visual Studio Code debug configuration。
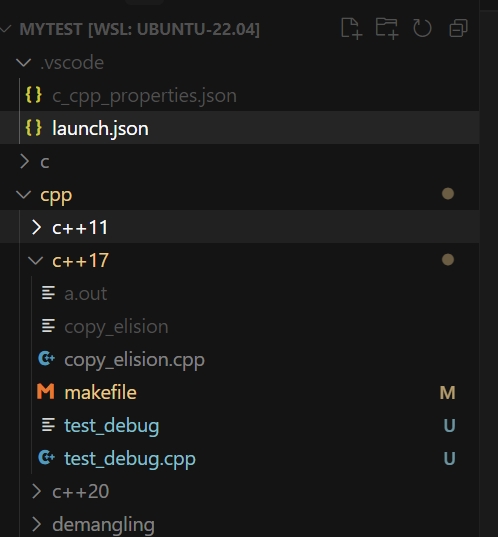
项目文件的目录结构是这样的:
mytest/
    .vscode/
        launch.json
    cpp/
        c++17/
            test_debug.cpp
            makefile

launch.json:
这个文件基本上都是首次使用时 vscode 帮我配置的,我只需要改里面几个参数。
这里面的几个关键参数:
${workspaceFolder} 项目根目录,即我的 mytest 目录;
program 程序路径;
request 动作,attach 或 launch;
args 运行参数,launch 时才有意义;
stopAtEntry 是否启动时停在 main 函数入口;
{
    // Use IntelliSense to learn about possible attributes.
    // Hover to view descriptions of existing attributes.
    // For more information, visit: https://go.microsoft.com/fwlink/?linkid=830387
    "version": "0.2.0",
    "configurations": [
        {
            "name": "attach to test_debug",
            "type": "cppdbg",
            "request": "attach",
            "program": "${workspaceFolder}/cpp/c++17/test_debug",
            "MIMode": "gdb",
            "setupCommands": [
                {
                    "description": "Enable pretty-printing for gdb",
                    "text": "-enable-pretty-printing",
                    "ignoreFailures": true
                },
                {
                    "description": "Set Disassembly Flavor to Intel",
                    "text": "-gdb-set disassembly-flavor intel",
                    "ignoreFailures": true
                }
            ]
        },
        {
            "name": "launch test_debug",
            "type": "cppdbg",
            "request": "launch",
            "program": "${workspaceFolder}/cpp/c++17/test_debug",
            "args": ["dddd"],
            "stopAtEntry": true,
            "cwd": "${workspaceFolder}/cpp/c++17/",
            "environment": [],
            "externalConsole": false,
            "MIMode": "gdb",
            "setupCommands": [
                {
                    "description": "Enable pretty-printing for gdb",
                    "text": "-enable-pretty-printing",
                    "ignoreFailures": true
                },
                {
                    "description": "Set Disassembly Flavor to Intel",
                    "text": "-gdb-set disassembly-flavor intel",
                    "ignoreFailures": true
                }
            ]
        }

    ]
}
test_debug.cpp
#include <iostream>
#include <chrono>
#include <thread>

void runInCycle(const char* message) {
    int idx = 0;
    while (true) {
        std::cout << idx++ << " " << message << std::endl;
        std::this_thread::sleep_for(std::chrono::seconds(1));
    }
}

int main(int argc, char* argv[]) {
    if (argc > 1) {
        runInCycle(argv[1]);
    } else {
        runInCycle("hello, world");
    }
    return 0;
}
makefile:
.PHONY: clear default

default: test_debug

test_debug: test_debug.cpp
	g++ -g -O0 -o test_debug test_debug.cpp -std=c++17

clear:
	rm -rf test_debug
使用
我用的是 cursor,其实 vscode 也差不多的。
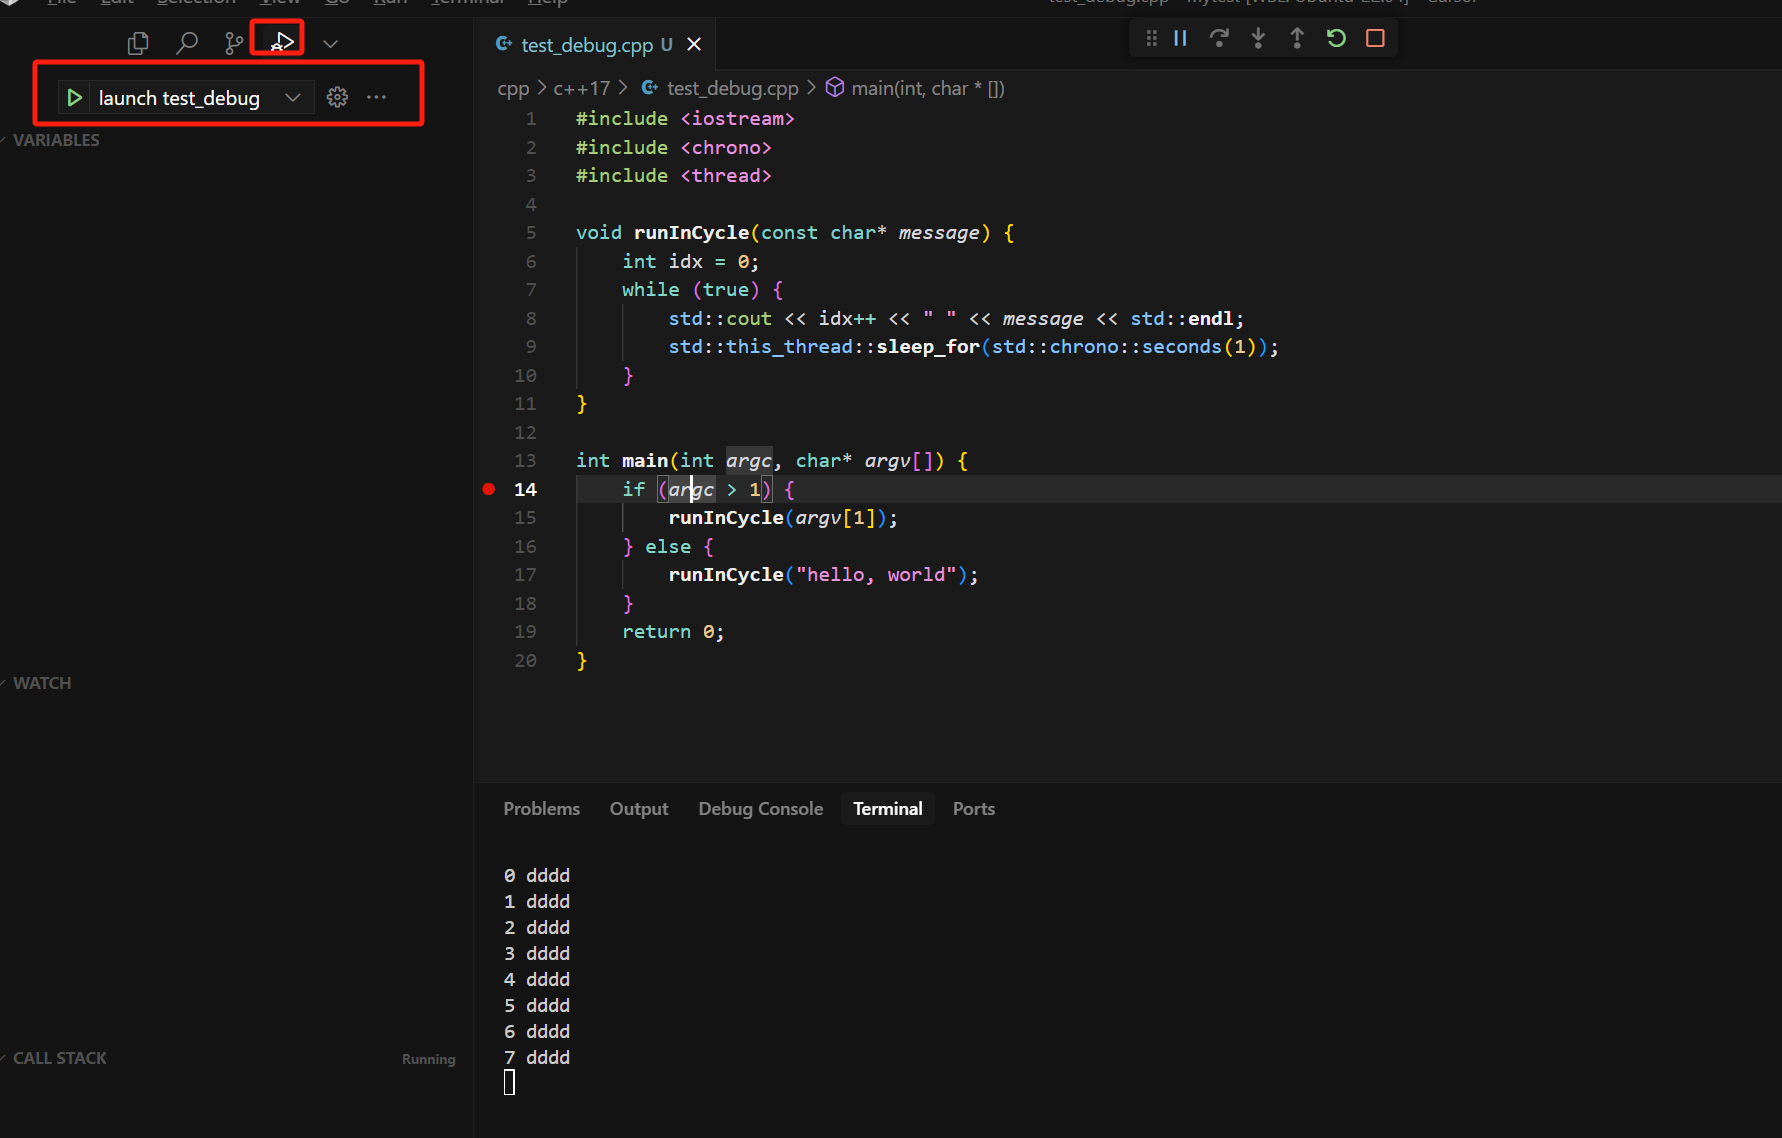
launch

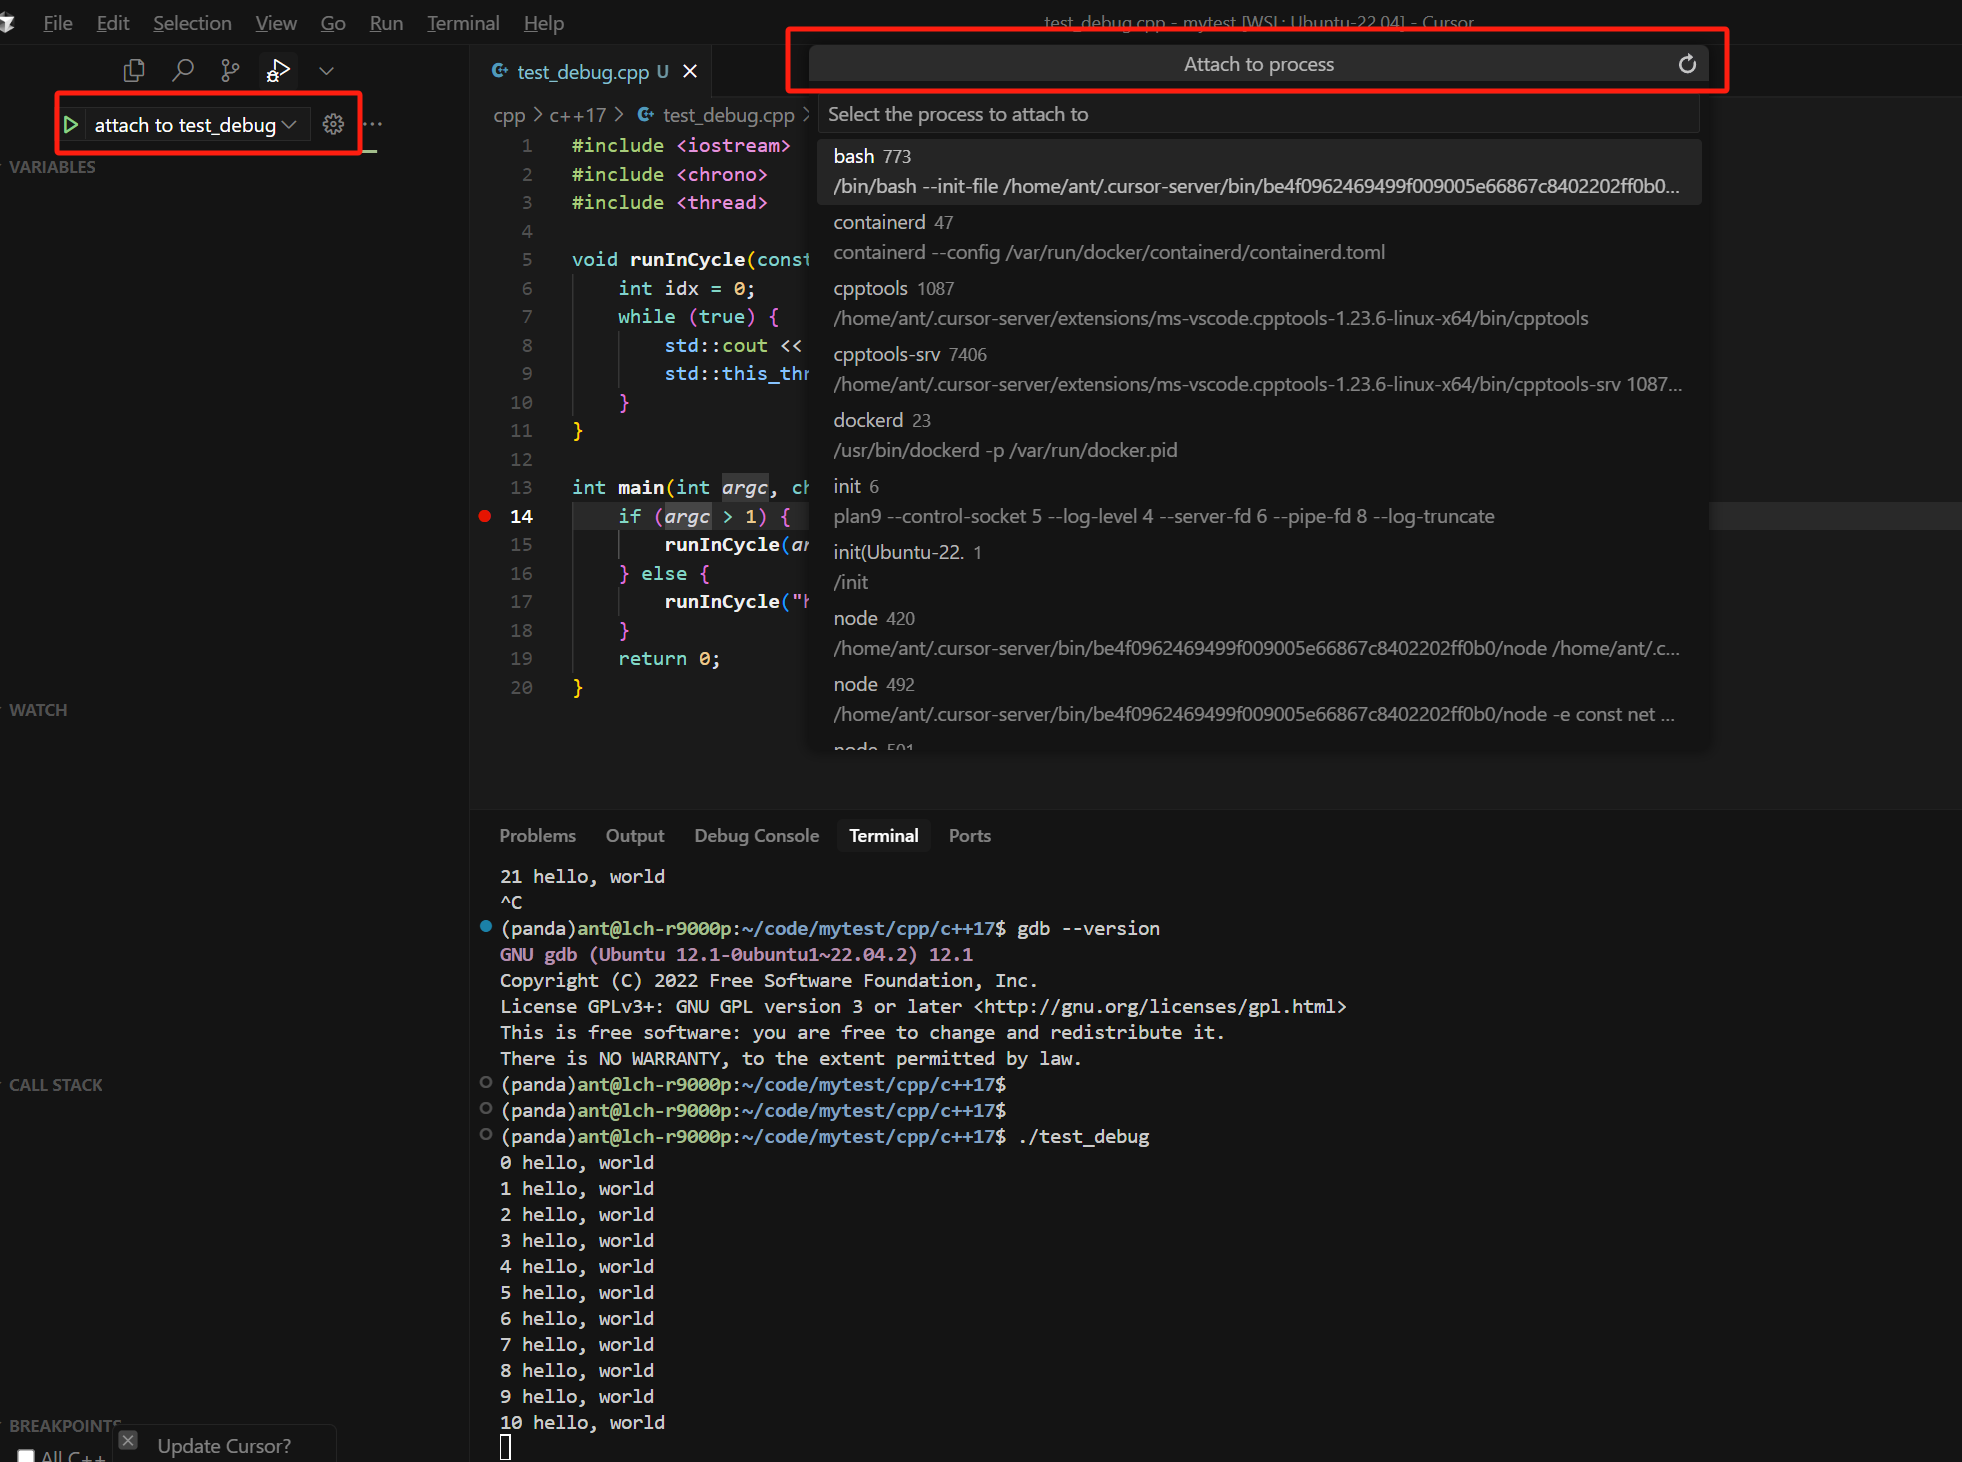
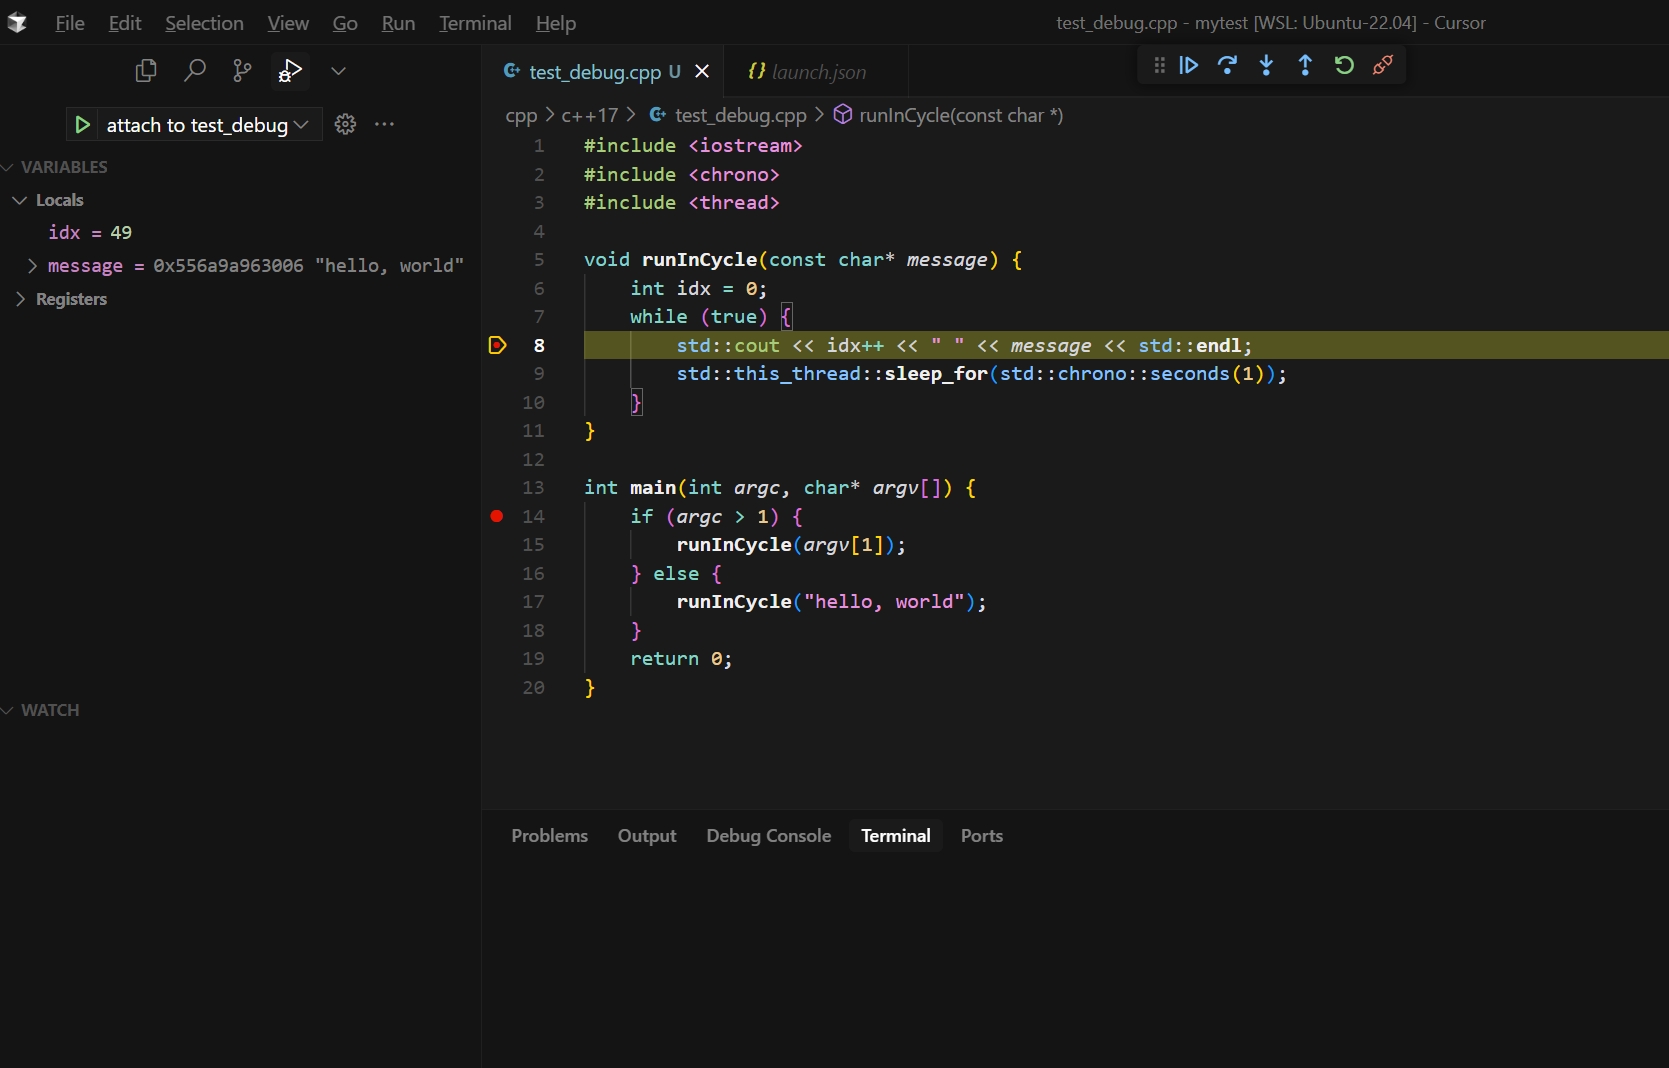
attach

